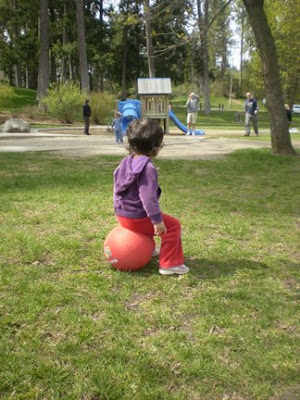
Here's a shot a took a few months ago with my Olympus FE-170. Looks pretty drab, so I'm gonna fix all that with Photoshop. Btw, I'm using Photoshop CS2. Need to upgrade to CS3 soon.

1. I use LEVELS to bump up the lightness and contrast. Take the white slider and slide it to the left... more or less depending on the exposure of the orig photo.

Already looking better.

2. Create a new layer (command J on Mac) and change the layer blend mode to HARD LIGHT. Lowered the opacity to 60%. Then flatten the layers.

3. Take the blur tool with a medium size brush and blur the background some.

4. Now take the burn tool (my favorite!) using a large brush and darken the outer edges. I then took a smaller brush and spot burned some shadows for more intensity.

And that's it! Look at the difference side by side! Pretty cool!


3 comments:
I love before and after pix...Have a good one
i love this! i'm going to do it and make it into an action on my comp. =)
i found your site through "korean cuisine". you can also find great actions online. here is one i recently found http://www.flickr.com/groups/technique/discuss/72157601062925085/
Post a Comment