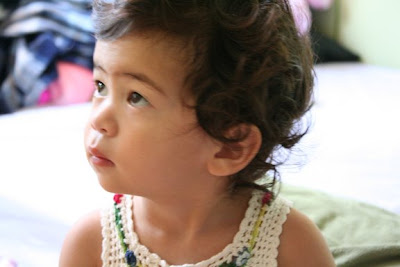
What a great shot this would've been if it wasn't a bit blurry. I hate it when that happens. I end up deleting most of the blurry shots and keeping just a few that aren't too bad since Photoshop can help me fix this.
Here's the origianal shot.
1. From the 'Filters' menu bar, go down to 'Sharpen' then to 'Unsharp Mask'. Use the sliders to adjust the sharpness by viewing the image in the preview box.
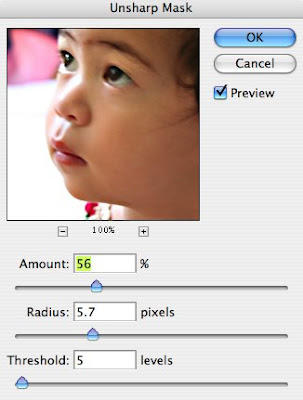
It's not totally crisp and sharp and can't get any better than that without it looking really bad, so this will do for me.
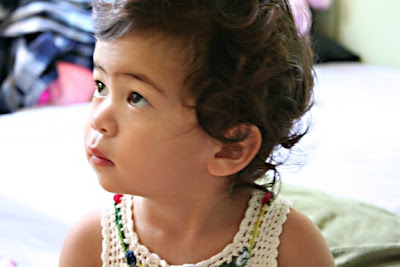
2. Then I look the 'dodge' tool with a medium size brush and lightened some parts of her face.
3. Next and final step, took the 'burn' tool with a larger brush and darkened the outer edges for more intensity.
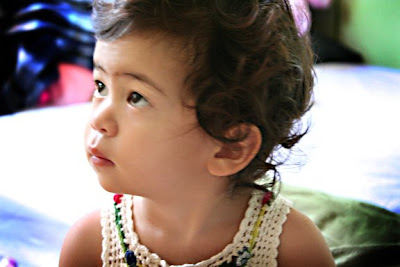
The side by side comparison. Not as blurry anymore and more vibrant now.

I think this photo would look pretty cool in black and white also. So I simply set my foreground color to black and my background color to white. Then from the 'Image' menu bar, go to 'Adjustments', then down to 'Gradient Map' and there you have a lovely black and white photo.
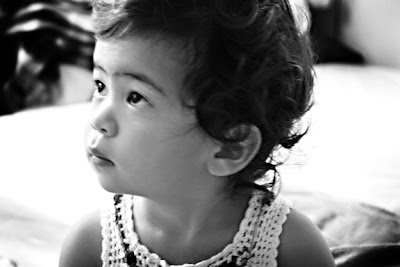
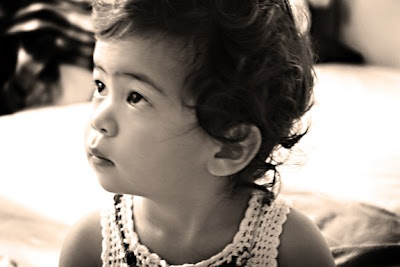
One step further to make it a warm sepia tone... go to the half circle icon on the bottom of the layers window and choose 'photo filter'. I chose the sepia at 75% density. I like. :)


1 comment:
i love it! i wish you could teach a class~ lol. i'm going to try your tips as soon as i get off my lazy bum and start taking pics of J again...
Post a Comment